 Cropped
Help
Cropped
Help
Help / How to
Make screenshots for a README or docs site
The short answer: capture just the window with Window in Cropped's Drop Zone, add arrows or numbered steps in the Annotate window, then drag the optimized file into your README. For a how-to with several steps, use Guides to export every picture plus a Markdown file.
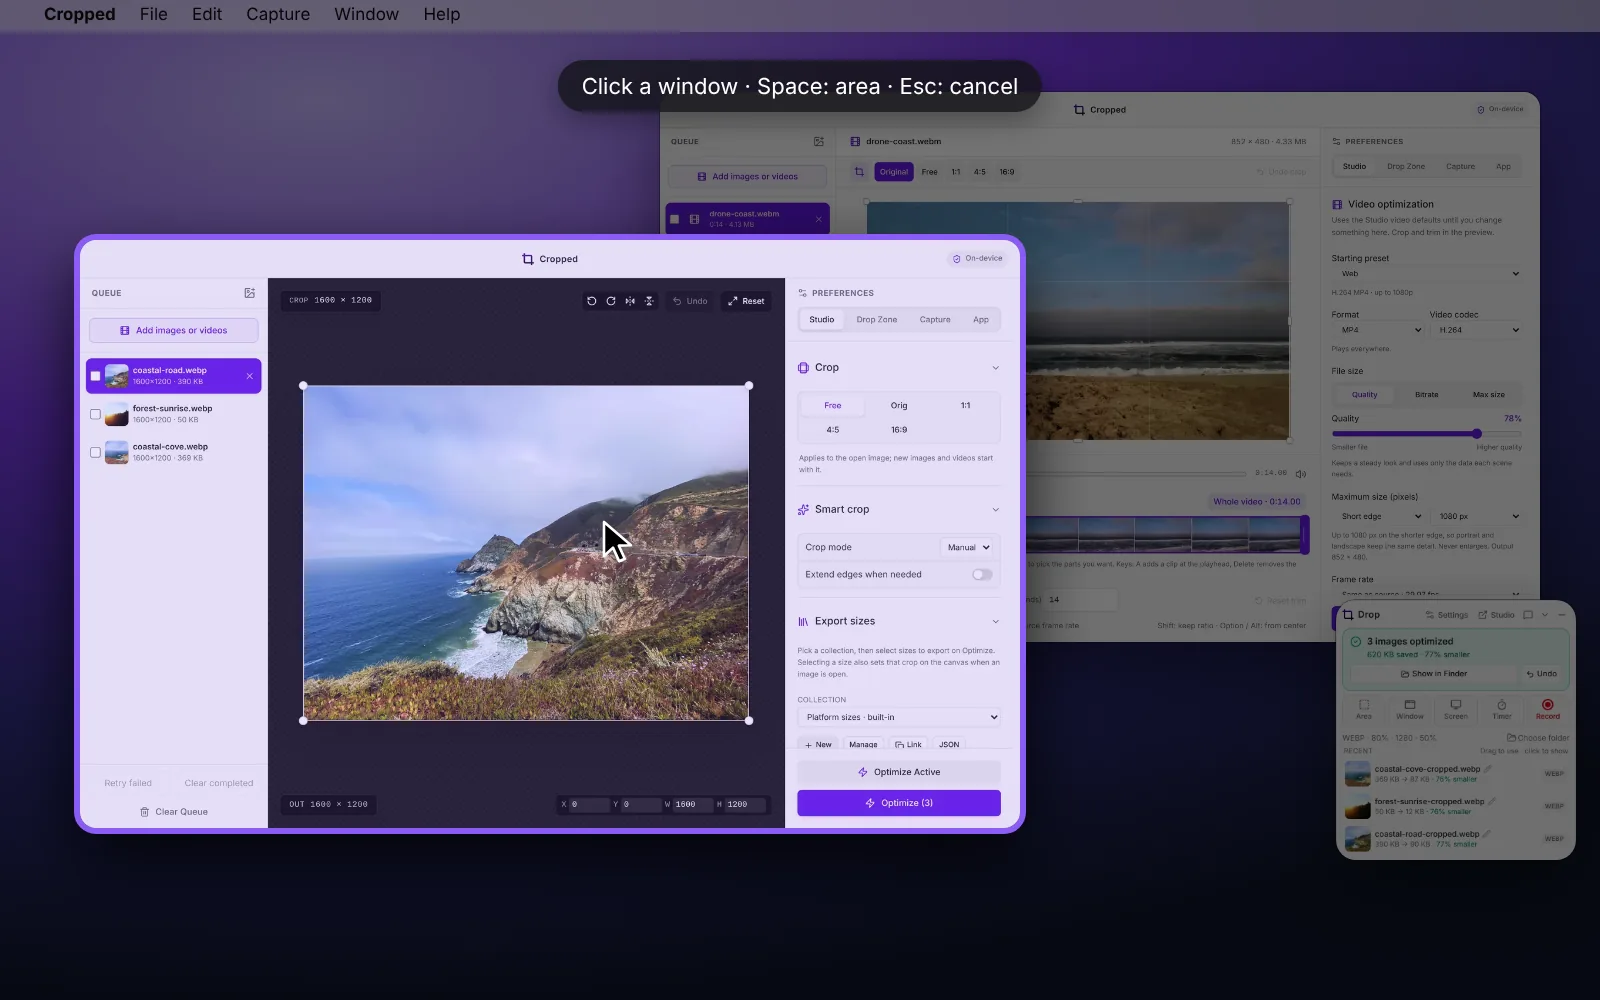
Steps
- Click Window in the Drop Zone, or press Space while picking an area, then click the window you want. You get just that window, with no desktop or other apps around it.
- Click the screenshot in the Drop Zone to open the Annotate window. Add a Box, an Arrow, Text or numbered Steps.
- Use Hide (H) on any token, key or email address.
- Click Save. The copy is optimized and on your clipboard. Paste it into a GitHub issue or drag it into your repo.
Pick the right file type
- WebP with the Web preset is the smallest for docs sites and GitHub.
- PNG with the Print preset keeps every pixel, for crisp UI text when size doesn't matter.
Change the preset under Studio output › Image. See Optimize and compress images.
A whole how-to at once
Add several screenshots to a Guide, mark up each step, and restyle all of them in one go. Export guide saves every step as an optimized picture with a Markdown file you can drop into docs/ or a help center. See Make step-by-step guides.
Still stuck? Click the ? button at the bottom left of the Cropped Studio to ask, send us a message, or request a feature.