 Cropped
Help
Cropped
Help
Help / Capture & annotate
Capture a window
Window capture takes a screenshot of a single app window, cut out exactly at its edges. You don't have to drag an area, and on Mac you get just the window with its soft shadow, even when other windows overlap it.
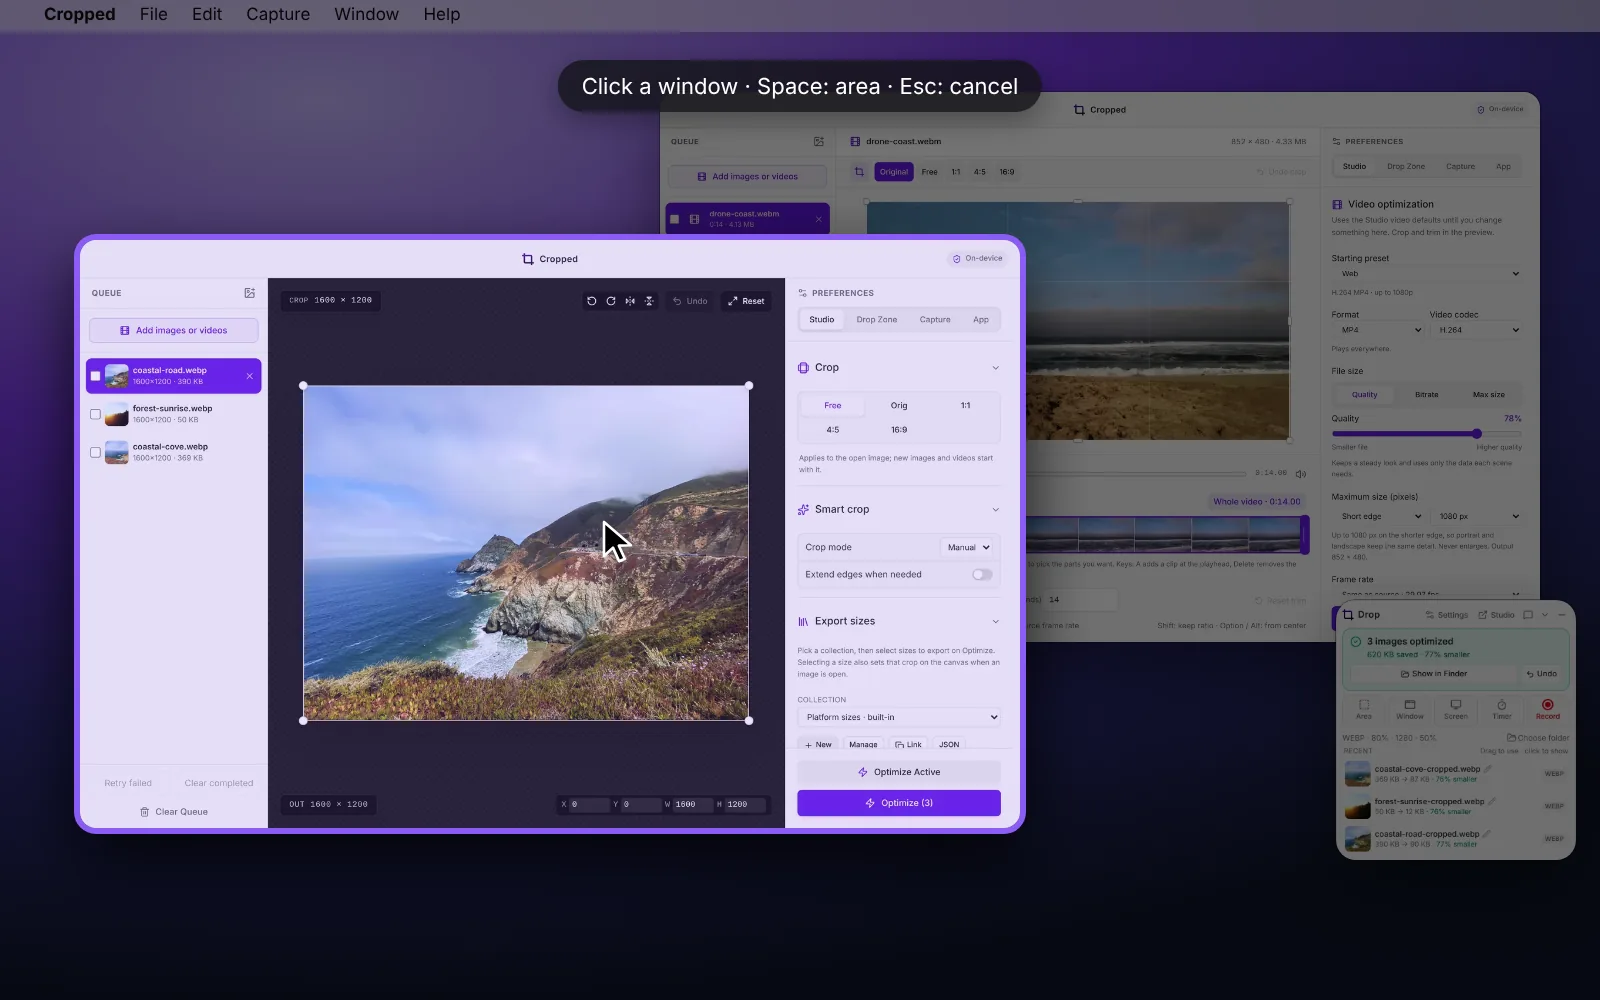
Take a window screenshot
- Click Window in the Drop Zone. Or press the Window shortcut, if you've set one, or press Space while you're choosing an area.
- The screen dims. Move the pointer over the window you want: it lights up with a colored border.
- Click the window. Cropped captures it straight away.
Press Esc, or click Cancel in the Drop Zone, to stop without capturing. Clicking the empty desktop does nothing, so you can't capture the wrong thing by accident.
The screenshot then goes wherever your screenshots go: it's optimized, copied to your clipboard and shown in the Drop Zone, ready to drag into any app or to annotate. See What happens after a capture.
Give window capture its own shortcut
Window capture has no key out of the box, so it can't clash with another app. To add one:
- Open the Studio and go to Preferences › Capture.
- Under Shortcuts, click the box next to Window and press the keys you want, for example ⇧ Shift + ⌘ Command + 7 (Windows: Ctrl + Shift + 7).
On Mac you can also use Capture › Capture Window in the menu bar. See Use Cropped as your screenshot tool for every shortcut option.
Switch between area and window
While you're choosing an area, press Space before you start dragging to pick a window instead. On Mac, press Space again to go back to dragging an area.
On Windows you can also click once, without dragging, while choosing an area. The area snaps to the window under the pointer and you can still adjust it before you capture, or record it.
What you get
| Mac | Windows | |
|---|---|---|
| What's captured | Only that window, even if other windows are in front of it | The window's area of the screen, as you see it |
| Shadow | Soft window shadow on a transparent background. Turn off Window shadow in Preferences › Capture for a plain rectangle. | No shadow |
| Detail | Full Retina resolution | Full screen resolution |
| Which windows | Normal app windows on the current desktop. Menus, the Dock and the Drop Zone are skipped. | Visible windows on the current desktop. Minimized windows are skipped. |
With more than one display, the highlight follows your pointer across all of them.
The full-quality PNG is kept in your capture history and named like any screenshot, for example Cropped Screenshot 2026-10-07 at 09.41.12.png.
Window capture and Repeat
Repeat captures the last area you dragged again. A window capture doesn't change it, so you can mix window shots and repeated area shots freely.
Good to know
- Window capture always takes a screenshot. To record a window, start a screen recording and drag over the window.
- The pointer is never included in screenshots.
- On Mac, Cropped needs Screen Recording permission. See Screen Recording permission on Mac.
Still stuck? Click the ? button at the bottom left of the Cropped Studio to ask, send us a message, or request a feature.