 Cropped
Help
Cropped
Help
Cropped Help
Cropped is a screenshot and screen recording app that also crops, trims and shrinks your images and videos. It runs on Mac (Apple Silicon, macOS 14 or later) and Windows. Everything happens on your own computer: your files are never uploaded.
This guide covers every feature in the desktop app, in the order most people use them: capture and annotate, then crop, optimize and export, then the Drop Zone that ties it together.
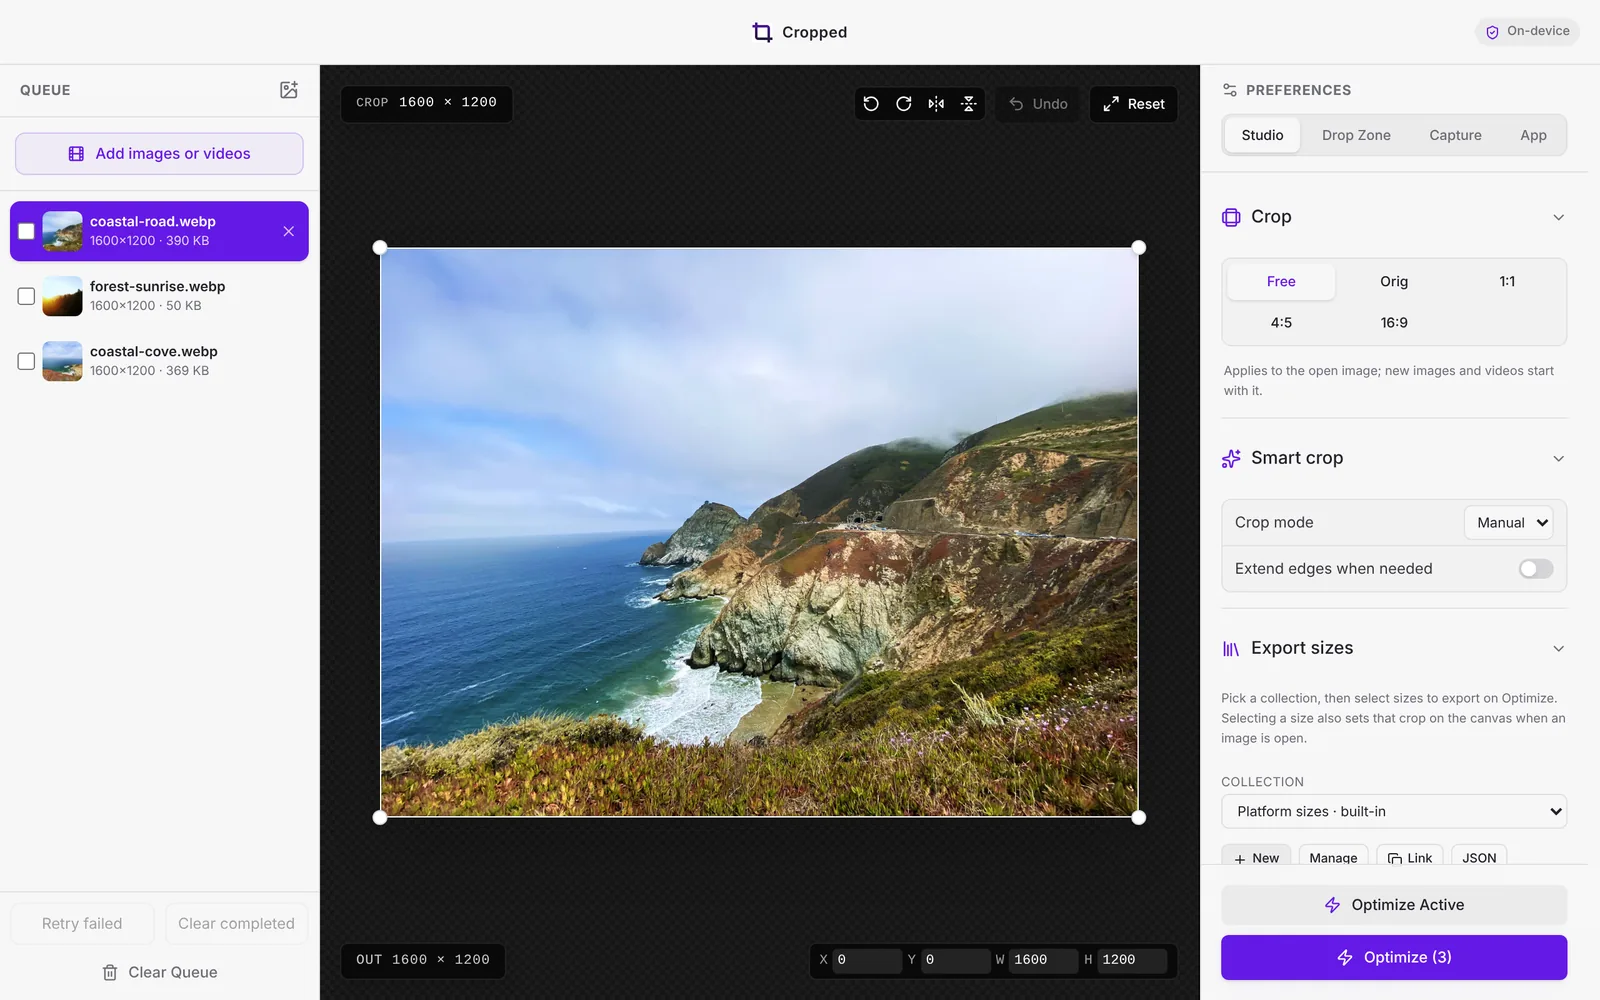
The three parts of Cropped
Cropped opens two windows, and a third appears when you need it.
| Window | What it's for |
|---|---|
| Drop Zone | A small panel that floats above your other apps. Drop files on it to optimize them in one step, take screenshots and recordings with its buttons, and drag results straight into Slack, Mail, a browser or a folder. |
| Studio | The main "Cropped" window. Crop, rotate and resize images, trim and crop videos, pick social media sizes, and choose the exact format and quality before you export. |
| Annotate window | Opens when you click a screenshot. Add arrows, boxes, text and highlights, black out private details, and crop. |
Quick start
- Take a screenshot. Press ⇧ Shift + ⌘ Command + 8 (Windows: Ctrl + Shift + 8), drag over part of the screen and press Return. The screenshot shows up in the Drop Zone, already optimized and copied to your clipboard. See Screenshots.
- Record your screen. Press ⇧ Shift + ⌘ Command + 0 (Windows: Ctrl + Shift + 0), pick an area, then press the same keys again to stop. See Screen recording.
- Mark it up. Click the screenshot in the Drop Zone to add arrows, text and boxes. See Annotate screenshots.
- Shrink any file. Drop images or videos on the Drop Zone. Cropped saves smaller copies in Downloads/Cropped and keeps your originals. See The Drop Zone.
- Fine-tune in the Studio. Press ⌘ Command + O in the Studio to add files, crop them, then press ⌘ Command + ↩ Return to optimize. See The Studio.
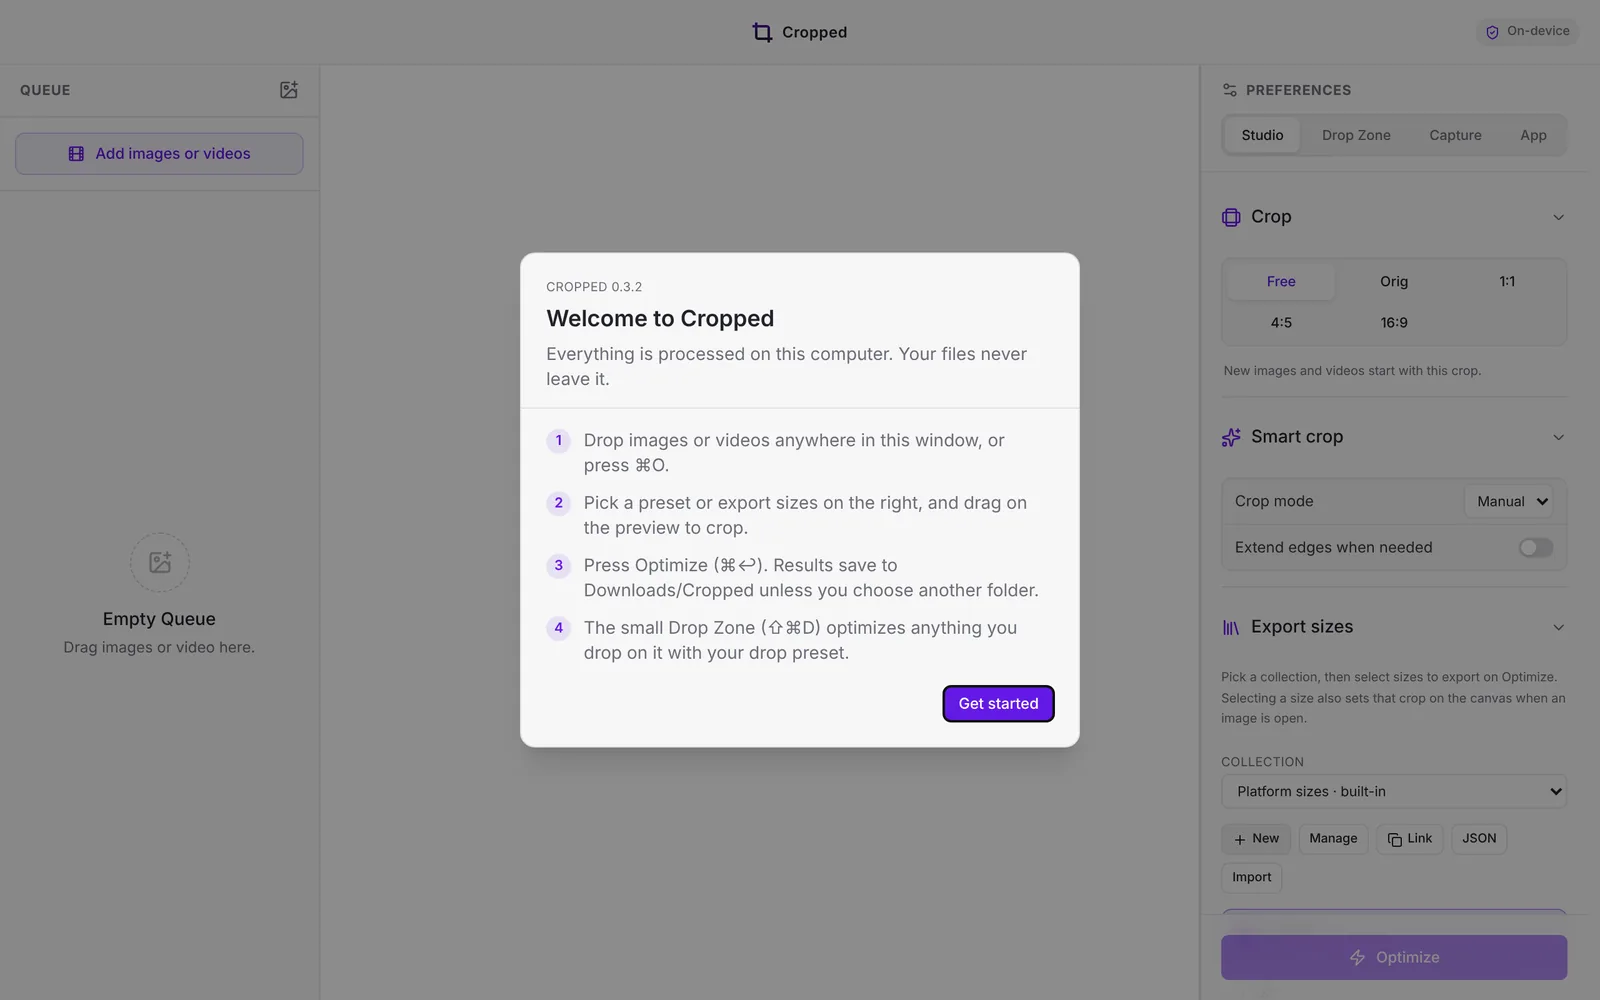
Where your files go
- Optimized files are saved to Downloads/Cropped unless you pick another folder. Cropped never overwrites a file. If a name is taken, it adds -2, -3 and so on.
- Originals stay untouched. Cropped only ever writes new copies.
- Screenshots and recordings are kept in Cropped's capture history, and the optimized copy goes to Downloads/Cropped. See Where captures are saved.
Close and quit
Closing the Studio, the Drop Zone or the Annotate window only hides it. Cropped keeps running so your capture shortcuts keep working. Click Cropped in the Dock (Windows: the taskbar) to bring the Studio and the Drop Zone back. To stop Cropped completely, quit it with ⌘ Command + Q (Windows: Ctrl + Q).
Get help in the app
Click the ? button at the bottom left of the Studio to ask a question in plain words. Cropped answers from this guide, right inside the app, and links to the page with the details.
Find what you need
- New to screenshots in Cropped? Start with Screenshots, Capture a window and Use Cropped as your screenshot tool.
- Making files smaller for the web or email? Read Optimize images and Video formats and presets.
- Posting to social media? See Crop and export sizes.
- Looking for a key? See Keyboard shortcuts.
- Missing a feature, or found a bug? Request a feature and vote on what others asked for.
Still stuck? Click the ? button at the bottom left of the Cropped Studio to ask, send us a message, or request a feature.