 Cropped
Help
Cropped
Help
Help / How to
Batch crop images to the same size
The short answer: open the Drop Zone's Settings, set Crop to 1:1, 4:5 or 16:9, and drag the folder onto the Drop Zone. Every picture is cropped to that shape, optimized and saved in Downloads/Cropped. Your originals are never touched.
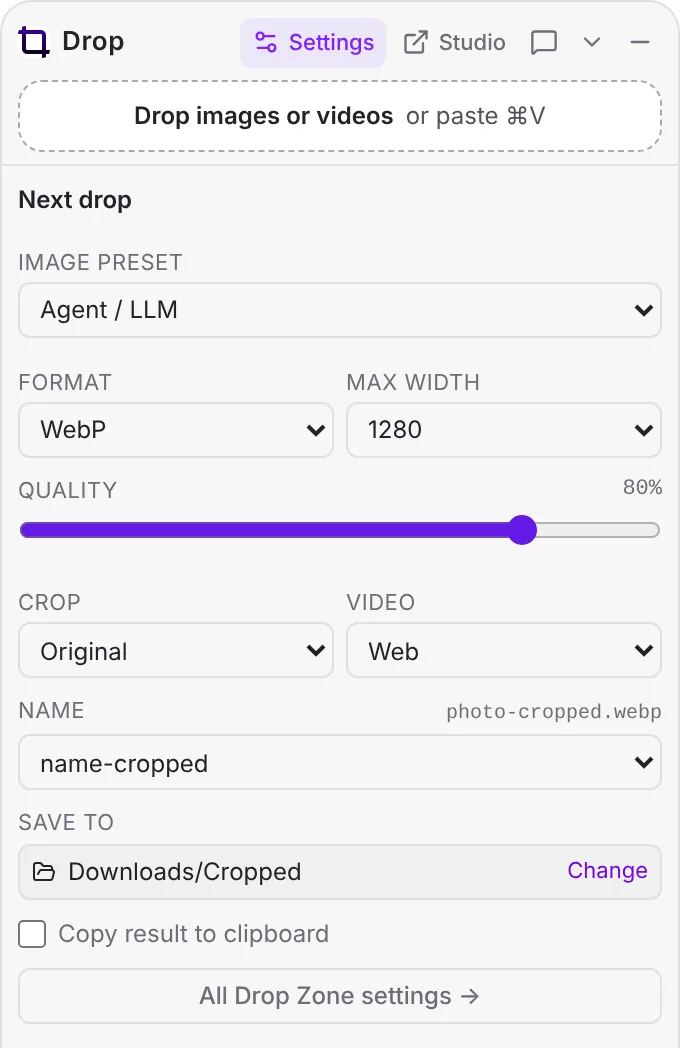
The fast way: the Drop Zone
- Click Settings in the Drop Zone.
- Set Crop to the shape you want. Add a Max width or Max height, such as 1080 px, to get the same pixel size too.
- Drag the folder, or a selection of files, onto the Drop Zone. Cropped shows progress, such as "Optimizing 2 of 5", then one card with the total saving.
- Click Show in Finder (Windows: Show in Explorer), or Undo if you change your mind.
When each picture needs its own framing: the Studio
- Drop the folder on the Studio. Every picture waits in the queue.
- Pick a ratio on the picture toolbar. It becomes the starting crop for each file.
- Tick the files in the queue and click Apply smart crop to selection under Smart crop in the Studio panel. Cropped finds the subject in each picture and keeps it in frame, on your computer.
- Open any picture to nudge its crop box.
- To get every social media size for every picture, tick them under Export sizes.
- Click Optimize to save them all.
Do it automatically
Turn on Watch folder (auto-optimize) in Preferences › App and choose a folder. Every new picture that lands there is cropped and optimized with your Drop Zone settings.
See also Batch resize and compress a folder of images, The Drop Zone and Crop images and export social media sizes.
Still stuck? Click the ? button at the bottom left of the Cropped Studio to ask, send us a message, or request a feature.