 Cropped
Help
Help / Crop, optimize & export
Make a file smaller from Home
Updated
Make a file smaller is one of the three jobs on Home. Pick a picture, video or PDF and Cropped makes it smaller in one step. The result shows right in the card, so there is nothing else to open.
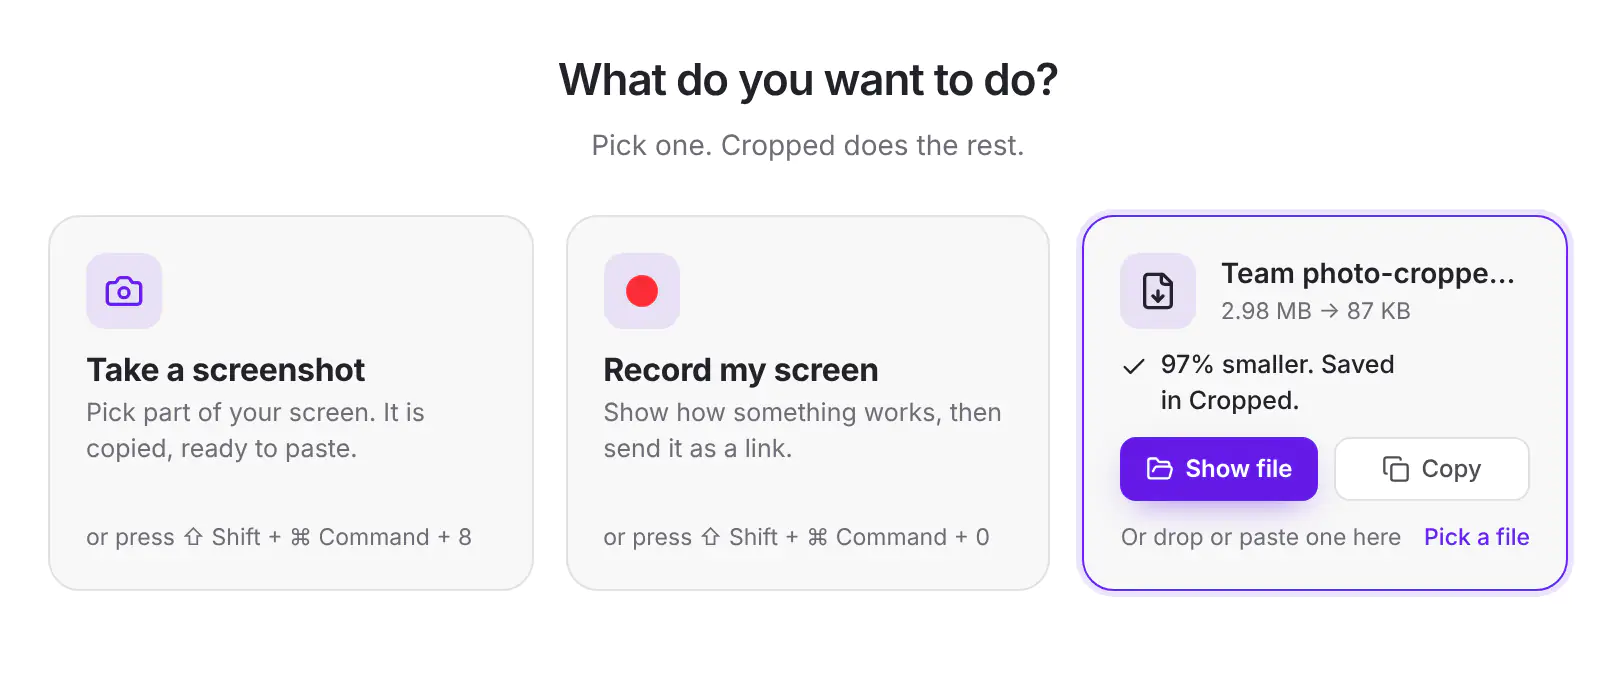
Make a file smaller
- Click Make a file smaller and pick a file. You can also drop a file anywhere on the Home window, or paste one with ⌘ Command + V (Ctrl + V on Windows and Linux). For a dropped or pasted picture or video, the card asks first: click Make smaller, or Open in editor to crop, mark it up or trim it instead. A PDF is made smaller right away.
- The card shows the file's name while Cropped works on it.
- When it's done, the card shows the size before and after, for example 3.0 MB → 364 KB, and says how much smaller it got and which folder the smaller copy is in.
- Click Show file to see it in Finder (File Explorer on Windows), or Copy to paste it into an email, a chat or a document.
Your original file is never changed. The smaller copy is saved in the same folder as the Drop Zone's results: Cropped in your Downloads folder, unless you picked another one with the folder button under the Drop Zone.
To do another file, drop or paste it on Home, or click Pick a file at the bottom of the card.
How small it gets
Home uses the same settings as the Drop Zone, so a file comes out the same either way. To change how small files get, change the Drop Zone's settings.
Cropping or resizing instead
To crop a picture, make it a certain size, or export it for social media, drop it on Home and click Open in editor, or open More tools › Crop and resize. That opens the full editor.
Still stuck? Click the ? button at the bottom left of the Cropped Studio to ask, send us a message, or request a feature.